Just when I thought I was getting ahead on the giant list of Shit To Do….
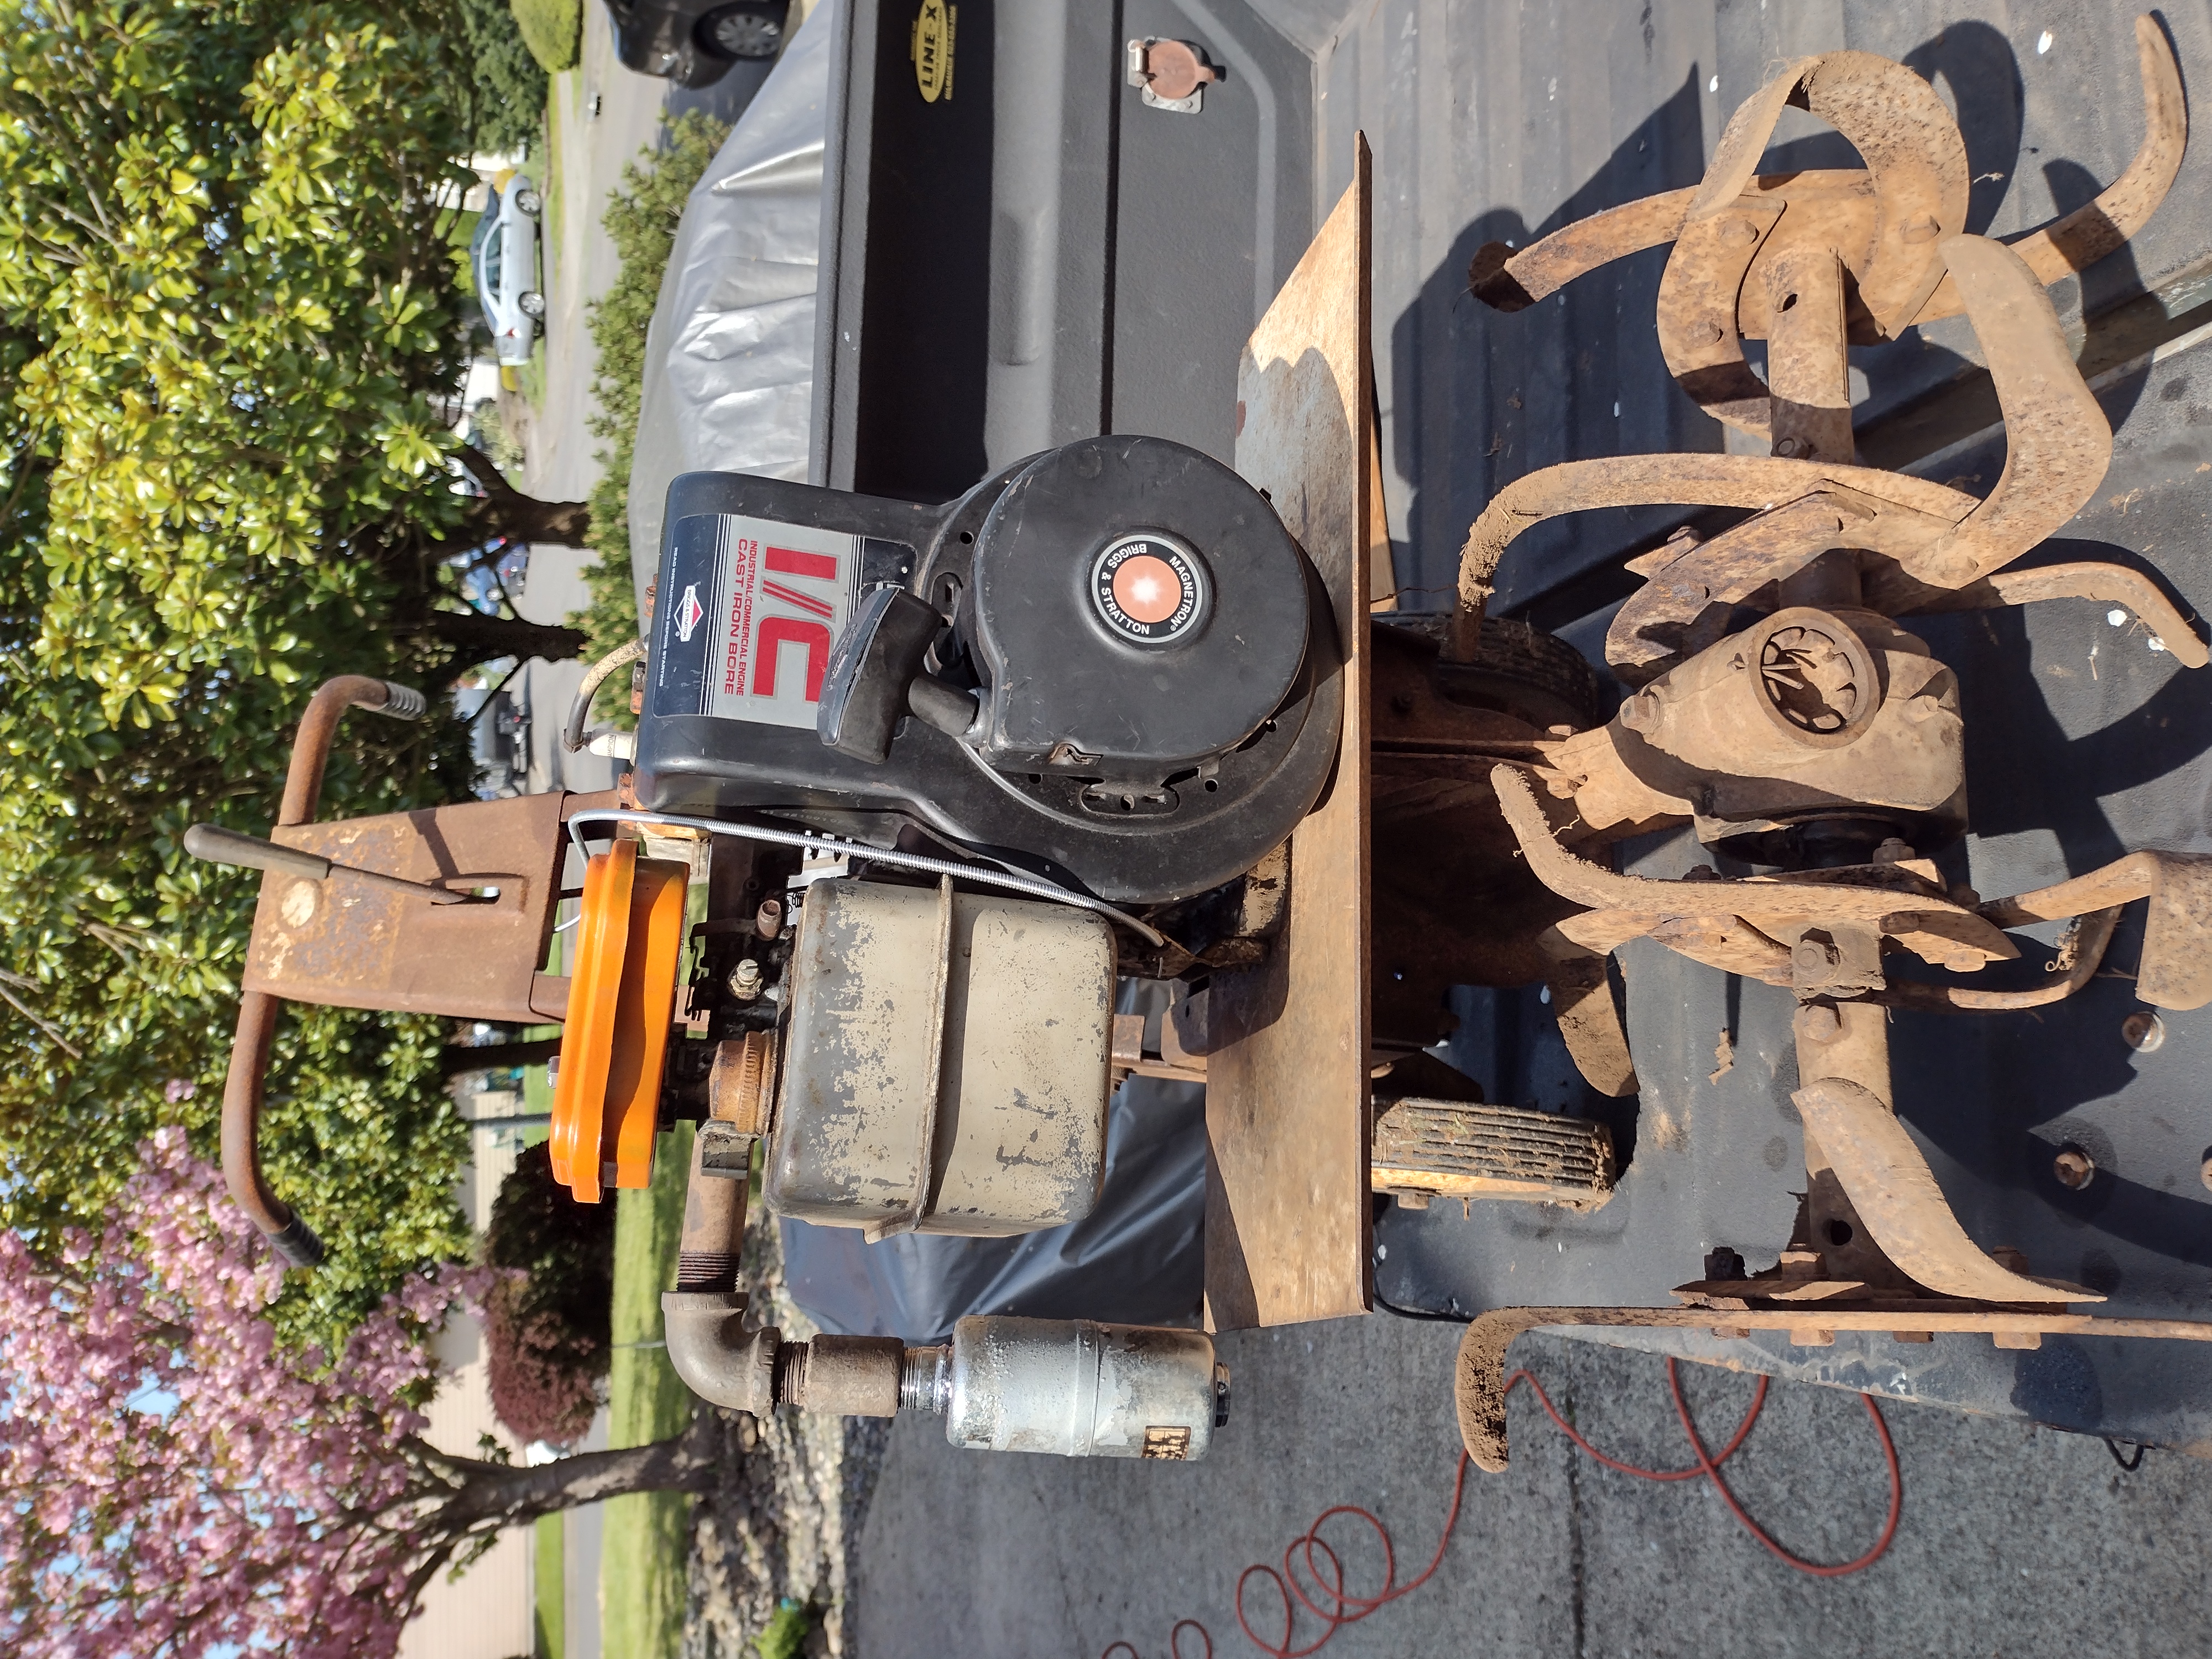
I pulled Ye Olde FrankenMotor trick on an old Briggs and Stratton 5 horse to put back onto a vintage Monkey Wards rototiller that belonged to my future Sister In Law’s Dad.
He was Old School and had a huge garden every year and she is still on the same piece of property so all of his old tools and equipment are still around.
This is where I got that old David Bradley walk behind tractor with all of the implements from.
My brother wanted to get the thing going again and I tore into it last Winter.
The engine that was on it is possibly salvageable but it needs a whole bunch of work and parts.
A buddy gave me an old engine that had been sitting outside in the weather for years and it didn’t have a drop of oil in it when I got it either. A real Crap Shoot. After a few rounds on Flea Bay scrounging, gathering up parts like an air cleaner housing and a pull start housing, I actually got the thing running in short order.
It’s been sitting out in the garage ever since.
The Sun came out yesterday and I took it over there and mounted it up.
After messing around getting the new drive belts put on and the throttle cable hooked up, the thing started right up.
Enter the problems.
The throttle cable hooked up so that pushing the knob in increased the speed and there was no speed control after it came off ide.
It was either idle or ungoverned wide open throttle.
It’s amazing the rev’s one of those little engines will turn.
Can’t be having that.
So I messed with it and messed with it and finally loaded it up and drug it home.
A couple of Youtube videos confirmed that I had the throttle linkage and the spring bullshit they use to control it hooked up right but still no love.
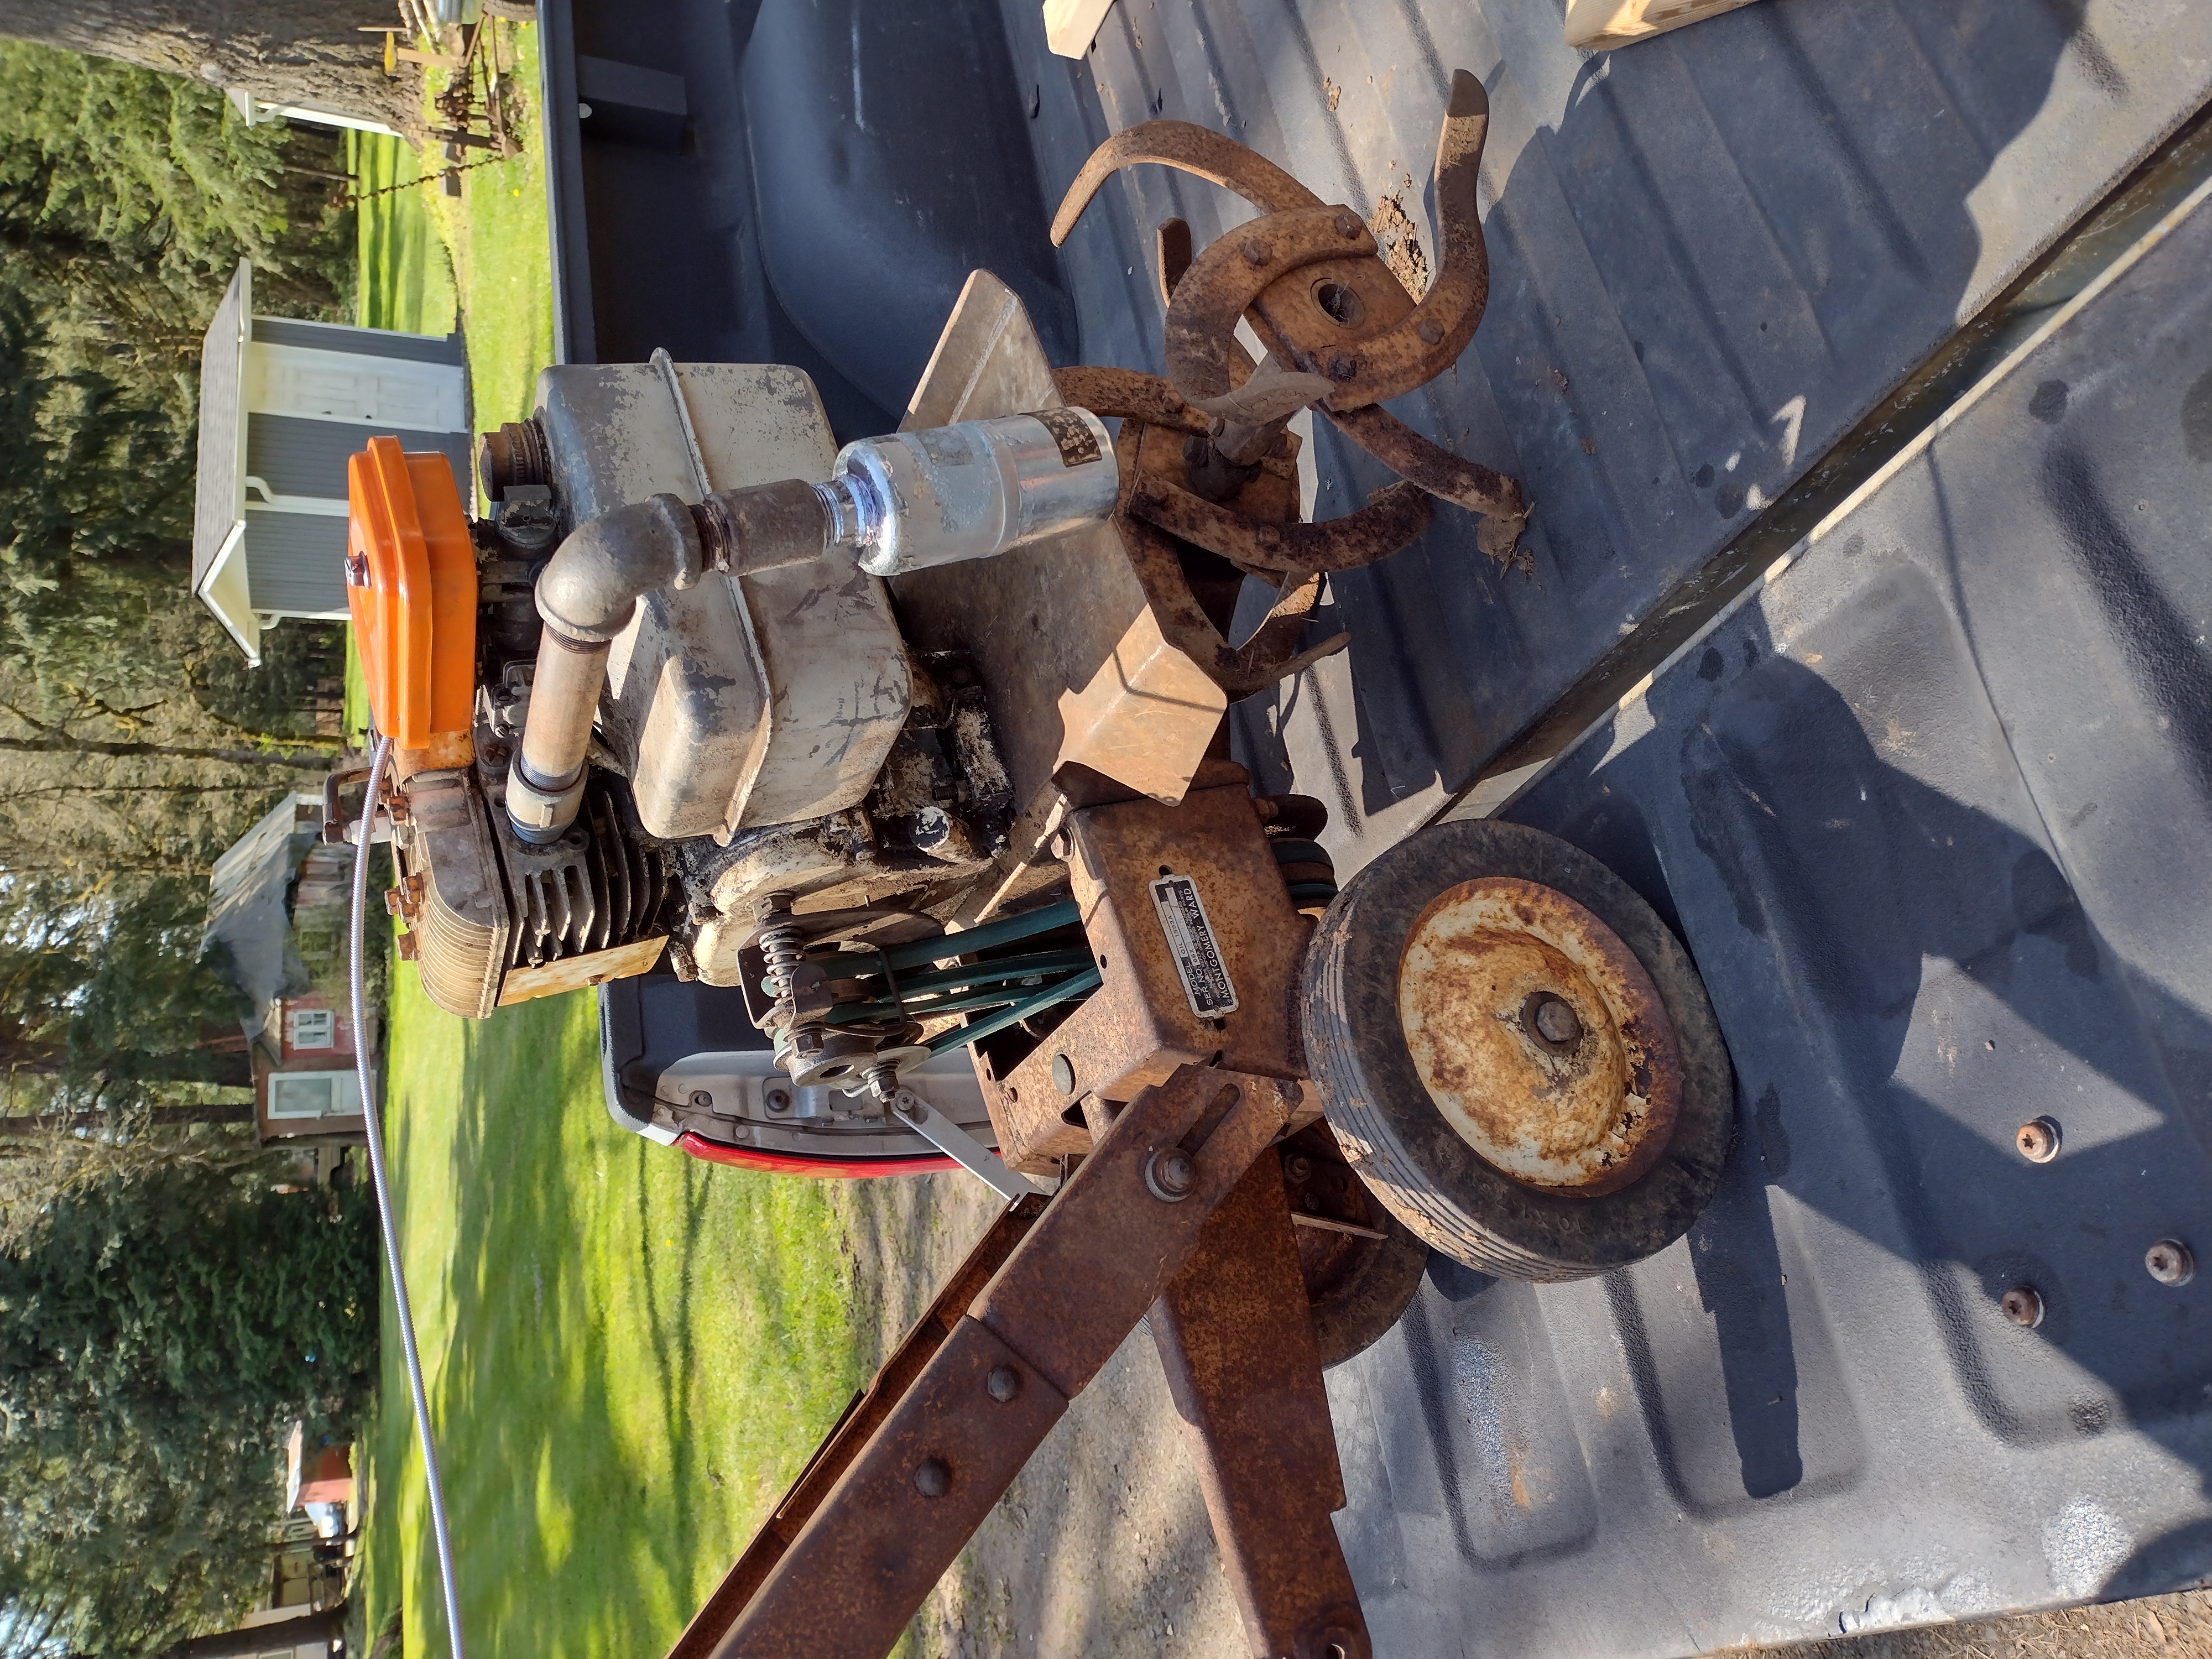
I went up and got a new Universal Choke cable, measured and cut it down, made a new Z bend in the end of it and mounted it so that it pulled instead of pushed to control the throttle.
Back to Youtube to find out how to adjust the governor and lo and behold, it was out of whack.
Put it back together and the magic happened.
The engine runs, the belts work and even reverse works!
That amazed me that I got that going.
So back to my Brothers I went and here ya go.
I told him to remember the damn thing is old like we are so you can’t just start it up and expect to take off at full blast. Ya gotta let it warm up a bit and then SLOOOOOOWLY pull the throttle back.
But she’s a runner again finally.
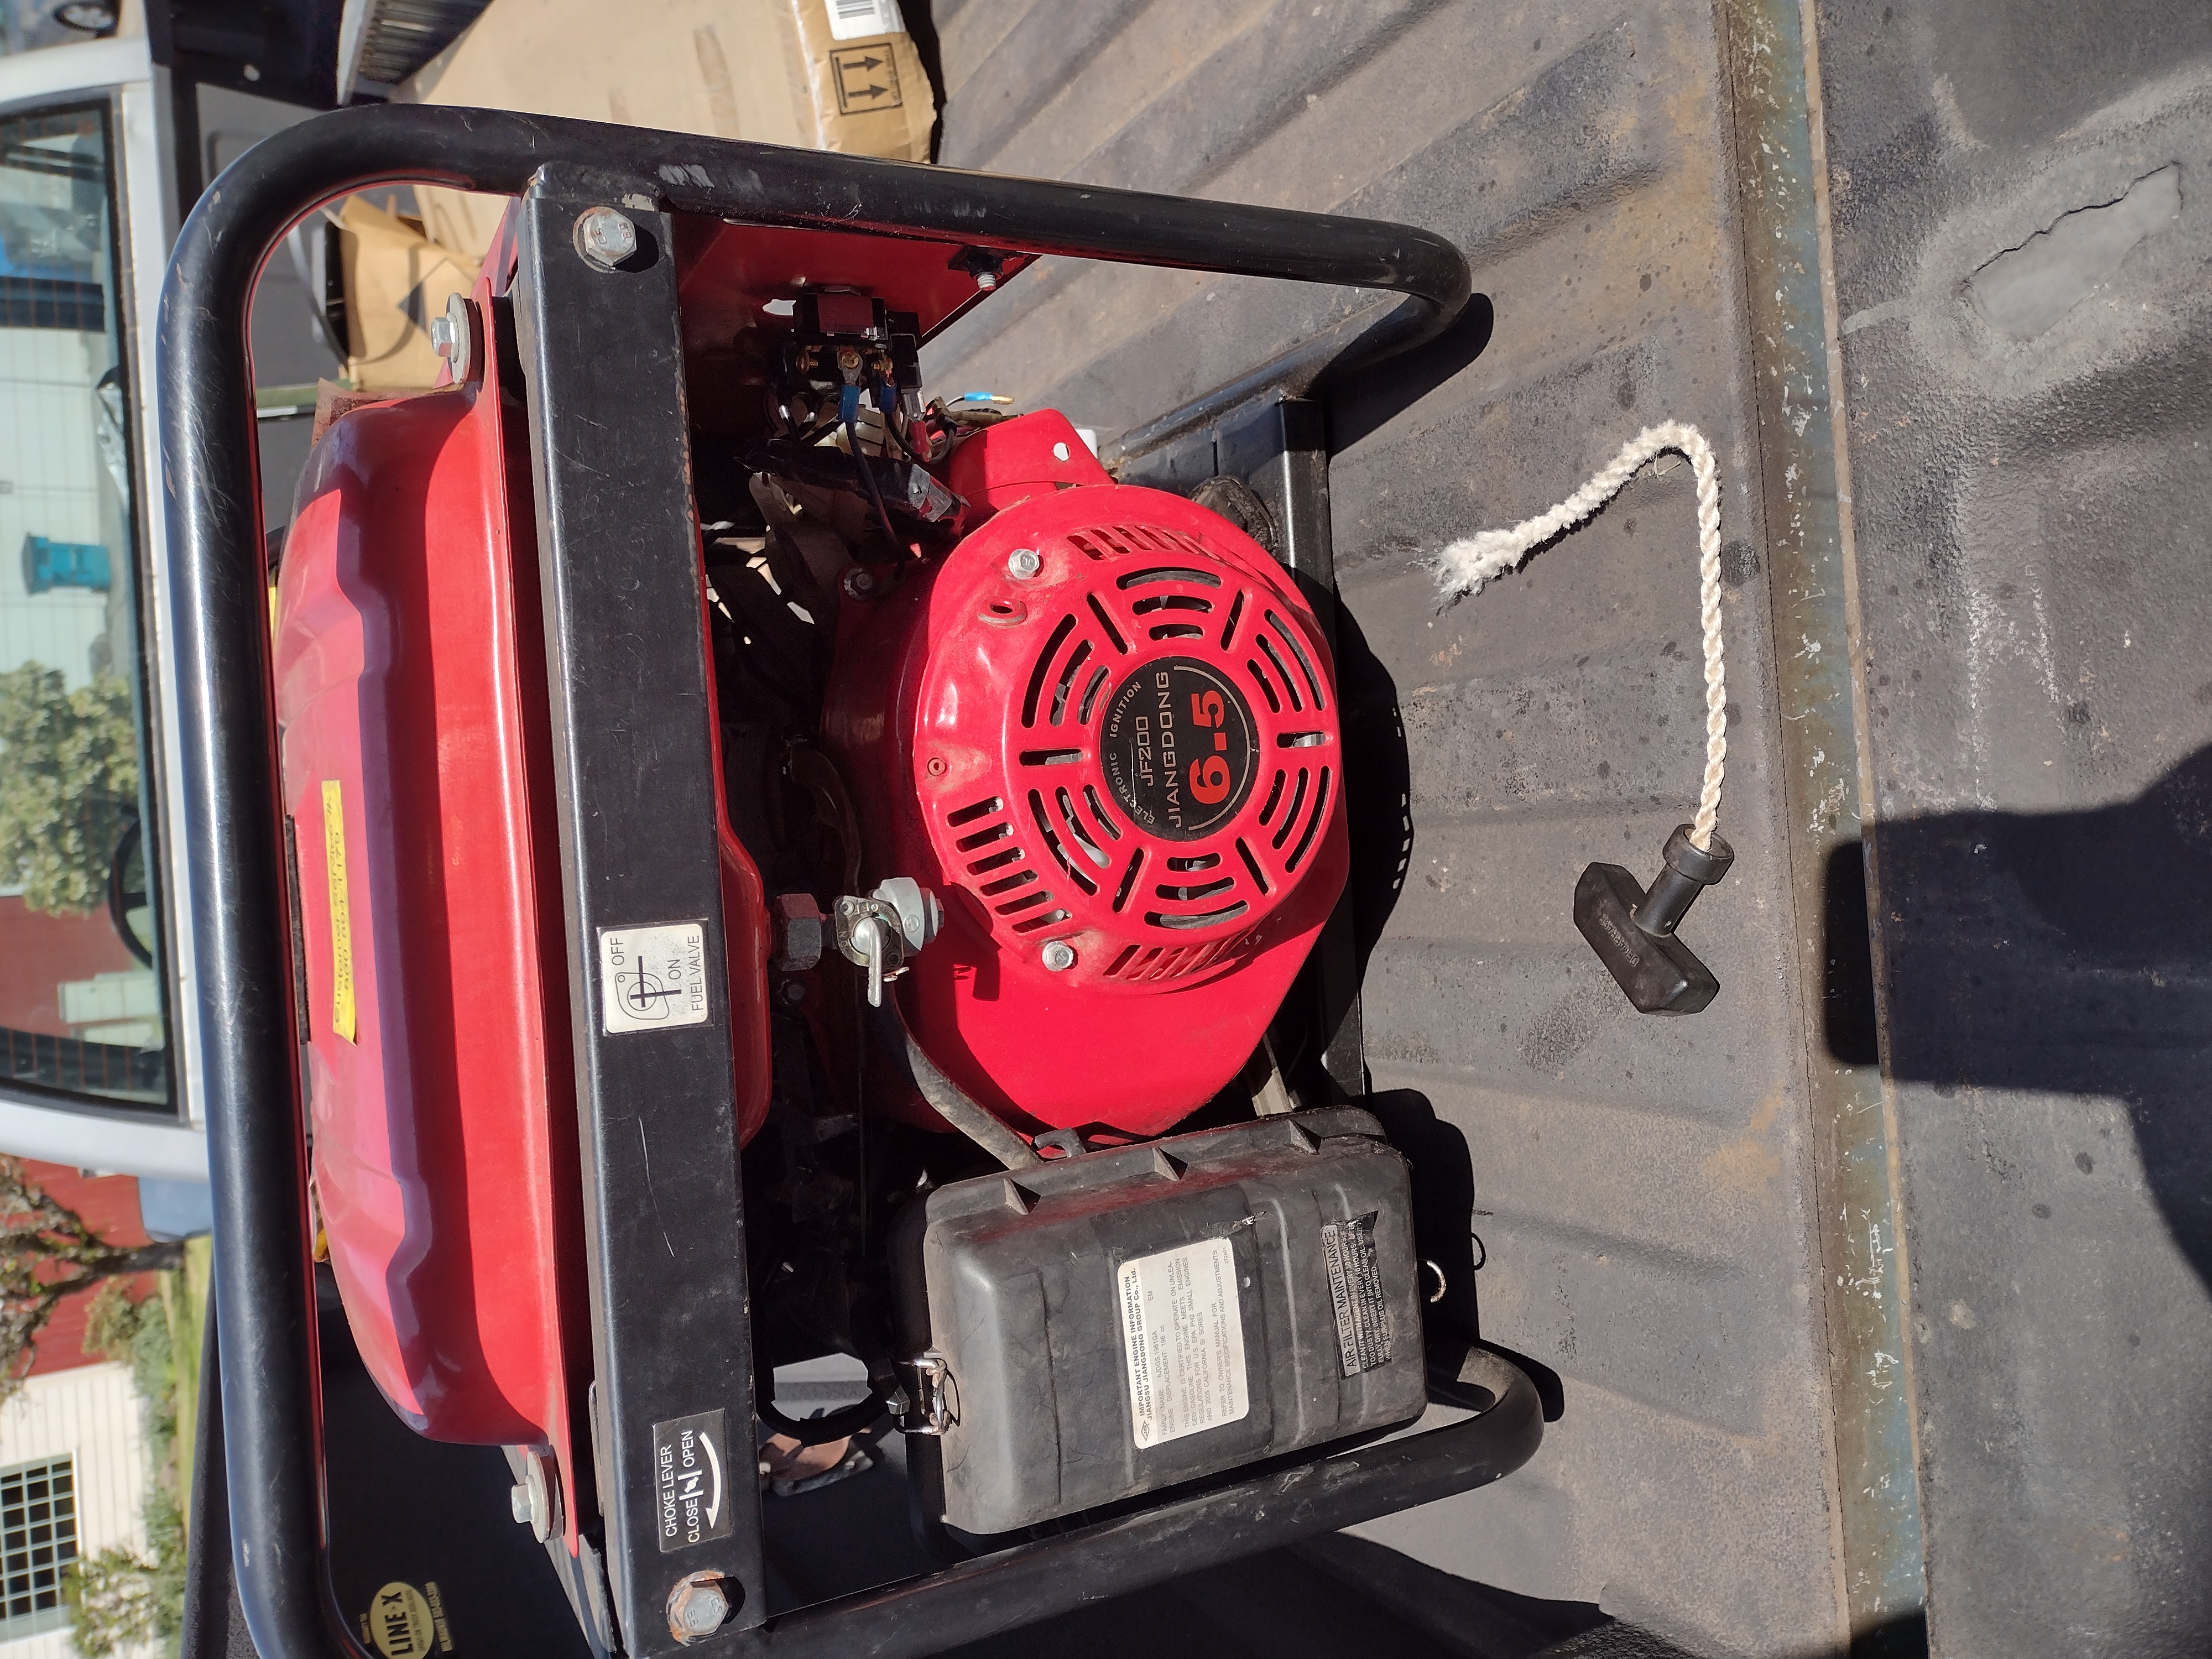
So then he starts in about the generator I gave him a year or so ago.
He let the battery go dead and then broke the pull start rope.
Sigh.
It never ends.
So now I have that shit to dick with.
It’s gonna have to wait.
I have an absolute shit ton of other things that are way ahead of it on my list and right this minute the Sun is shining.
It’s been cold and wet around here for months now.
Time to start knocking some other, more pressing items off of my To Do list.
Between myself and the author I don’t think either of us has more than a coffee break for spare time between us.
This is one you really want to pay attention to.
It could be invaluable in making sure you haven’t wasted your precious time and effort in trying to grow food, especially right now as it is a sure thing that TPTB have plans on making sure we are ALL going to be hungry here in the next few years.
I will provide a link to download this installment, plus all the previous installments after the piece,
Avoiding My Mistakes
Infrastructure, Irrigation, Fertilizers
“Hey, what happened to the specific practices article?” As I read over what I’ve previously written I came to the conclusion that I’ve already shared quite a bit of what and how we do things. I feel an article on specific practices would be redundant at this point. If you feel like you are getting short changed, hammer me in the comments and I’ll do my best to get as specific as you want.
With the above out of the way I need to state right off the get go that this article is highly subjective. It is not intended to tell you that you have to do something our way; that your way is wrong; or that what we do/have learned will work for you in your area. Basically this is some of what we’ve learned the hard way and perhaps it will help you avoid some of the pitfalls and traps we’ve run into over the years.
Also, due to the nature of the material covered this article kind of runs all over the place. Some things may be covered more than once from different perspectives. Just remember, you get what you pay for and this was free.
Infrastructure Layout and Maintenance
The first thing you need to do when you start gardening in earnest on a ‘feed yourself for a whole year from your garden perspective’ is think about what you are intending to do, and then do it in the most efficient and replicable manner possible. It will wear you out and cost you a lot more to get started and continue year after year if you don’t do this because you will have to keep changing things that don’t work.
To illustrate, if you are going to utilize raised beds you want to make sure you have them where you want them because it’s a lot of effort to tear them out and put them somewhere else when you realize they don’t meet your needs where you put them last year. On this topic, consider the materials you use when building semi-permanent constructs for your garden. I built my wife twelve raised beds out of wood. I didn’t want to use treated material because of growing organically. Even after staining the interior side of the wood and lining it with plastic to keep the soil away from the wood we started having maintenance problems in only a few years. I ended up replacing the wood with free stack native stone. It ties in nicely with some other edging and beds I put in out of native stone and I don’t have to worry about maintenance other than some weed pulling in the stone gaps once or twice a season.
A problem we suffered early on and it still hits from time to time is standardizing what we do in regards to plant spacing. We would build an irrigation manifold that had a particular spacing one year, then the next year change our planting spacing which necessitated revamping the manifold or perhaps even tossing it and starting over. This could be quite a project if it was something like corn where we have four headers of various row counts for a total of forty one rows.
Once you standardize what you are doing, it doesn’t matter where you do it, which is a real benefit as you rotate your crops through your garden space. We can move our corn blocks (and any other crop) from one end of the garden to the other with ease because we just move the irrigation headers to the new spot and layout the soaker hoses.
Figure out the largest dimensions of your plants and use this spacing for them year in and year out.
Our pole bean trellis went from forty inch row spacing to thirty inch spacing to its current thirty six inch spacing. It was a lot of effort to keep rebuilding the trellis. Some of this was from trial and error in determining what worked best and variations in plant growth as we improved our soil. On the topic of pole beans we also adjusted our in-row plant spacing several times. Kind of like Goldilocks and the Three Bears porridge, twelve inches was too far apart, six inches was too close together and for us eight inches was just right. It gives us a maximum yield for area and seed.
For plants like tomatoes get or make some substantial cages to help support the plants and fruit. It’s no fun to have a bumper crop and then loose a bunch of it because they are laying on the ground and you can’t get through all the vegetative growth to get to the fruit. Here is another area where it is easy to plant too close together and then when the plants are mature you can’t get between them to weed or harvest.
Don’t forget to give yourself working room as well when you calculate the space. I would rather plant my row type crops thirty inches apart even though they only need twenty two inches to grow well. This allows me to run my walk behind tiller between them to speed up tedious chores like weeding.
Semi static tasks such as composting can benefit from having a defined area where it is done, making sure you have the working room you need to accomplish the task. On assigning areas for tasks locate your beehives where you don’t need to run a lawn mower right in front of active hives (or plan on wearing your bee suit to mow the field, don’t ask me how I know this).
Have a dedicated storage area for your tools and infrastructure. On tools, if they have wooden handles, paint the handles. It will make the handles last longer and you will reduce the chance of slivers or splinters wrecking your hands. Put your tools up each day, they will last longer if you do. Fill a five gallon bucket three quarters full of dry sand, pour in a quart of transmission fluid or ten weight motor oil, when you clean your metal bladed tools, stick them in the bucket of sand several times. This will finish cleaning the metal and help a prevent rust. Having an area to store items such as irrigation headers and hoses will keep you from running over them when the snow is two feet deep and rising. Drain your hoses each fall before you put them away and you won’t be splicing nearly as many breaks next season.
Remember, these articles are predicated on living in a post TSHTF environment, you won’t be running down to your local hardware or garden supply store to purchase a new shovel when the handle breaks or replacing a hose that froze and broke in fifteen places. You will need to protect and preserve your resources.
Irrigation
While there are many different types of irrigation in my opinion the four basic means of irrigation are flood, aerial, focused or localized, and sub irrigation. I don’t include rainfall as an irrigation method because it is not dependable for interval, duration and amount.
There are several forms of flood irrigation and for most our garden needs flood irrigation won’t work well because we’ll be raising too many different varieties of plants having very disparate irrigation needs.
Aerial irrigation, though varying greatly in complexity and size from your small back yard sprinkler to wheel lines to a huge pivot systems are all similar in that they deliver irrigation water through the air. They are an effective means of irrigating a large area that requires the same irrigation as long as you have cheap energy and plentiful water. Aerial irrigation has several drawbacks in that it will rob you blind, can suffer from evaporative loss and it is also indiscriminate in what gets irrigated (though I suppose you could say your small yard sprinkler could be somewhat discriminant based on where you place it and how high you have the water pressure). Aerial irrigation robs you by wasting water (ergo energy, ergo money). It drives plant growth where you don’t want it i.e. weeds and steals your time by making you pull those weeds. It can also drive or exacerbate plant diseases which again can steal your money, time and efforts.
Sub irrigation depends on a very high and stable water table. Over my years I’ve lived and farmed in a few areas where we actually had quite good sub irrigation. I know of one valley in particular where I never had to irrigate the hay fields. Most of us are not going to be able to count on sub irrigation as our primary means of watering our truck garden.
This brings us to focused or localized watering systems. Drip lines and soaker hoses are two common forms of focused watering systems. I suppose we should stick hand watering here as it is definitely a focused watering method, it is also very time consuming. We have moved almost entirely to these two systems, drip lines and soaker hoses to meet our irrigation needs.
Soaker Hoses
The type of soaker hose I’m talking about are the round hoses that if used properly would more realistically called seeper hoses. All soaker hoses are not created equal. Soaker hoses of different manufacture and size will have different flow rates. Sometimes even within the length of a particular soaker hose you will find variations in flow rate.
Insoluble particulates in your water can plug the inside of your hoses making them virtually worthless, a good inline cleanable filter placed in your supply line will greatly extend the life of your hoses (and drip emitters).
If you’re like us over the years you’ll accumulate a lot of hoses and almost none of them match any other hose. To deal with the different flow rates get some flow discs. These fit in the end of your hose and control how much water gets delivered through the hose, regardless the flow rate of the hose. The discs have different flow rates and the ones we get from http://www.bestbudsgarden.com are available in .5, 1 and 2 gallon/hour rates. I’m sure there are other sources to get these but we’ve had real good results with the ones we sourced from bestbudsgarden and no, we have no affiliation with them other than purchasing their product. They are not even aware of our reference to them here (at least not yet and not unless one of you tell them about it, and even then they wouldn’t know who we are).
To make the layout and use of your hoses for row crops easier build a pvc manifold. I build ours out of ¾ pvc and place a T and male hose adapter every at what ever row spacing we want and then put a female hose adapter one end for connecting to a supply line. We uses hoses rather than rigid connections for the supply lines because it keeps from stressing the feed valves. I use ¾ pvc rather than ½ inch because it stands up better to being moved around year after year without breaking. I can efficiently run twenty, fifty foot long, soakers hoses on one manifold at the same time using a ¾ inch supply line hose.
To work correctly your soaker hoses need to be in full contact with the soil so the water can be wicked away from the hose by the soil. Also if you turn your soaker hose on and it swells up like a puffer fish and you have water streams jetting out all over the place your pressure is way too high. Your hoses will also fail sooner if the pressure is too high.
You have two ways to deal with excessively high pressure. The first way, which costs nothing is to reduce the flow through your water valve. The second way is to put a pressure regulator inline with your supply line. We use ones for regulating pressure to campers and travel trailers as these are designed to hook up to a garden hose.
Drip Irrigation
Most folks are at least cognitively aware of what drip systems are and there are many different kits and setups with all kinds of accessories you can purchase. To save yourself some money, the three main parts of a drip system are the supply lines, the emitters and emitter tubing, purchase these in bulk and save a lot. Locally it costs me nine bucks and change to purchase a ten emitter package. I can purchase thirty in bulk for the same price. For the price of a basic starter kit I can get a couple hundred feet of hose, a package of emitters and emitter tubing that will go a lot further than the kit.
Instead of the fancy couplings, splices, hose ends, emitter tube stand offs and so on use standard poly pipe fittings and small hose clamps to put your system together. Use heavy gauge wire to make your line staples and emitter tube stand offs.
Though there are goof plugs you can use to plug an emitter hole in a line you’ll be better served to standardize your spacing and stick to it. On the topic of spacing (we’ll use peppers at every two feet) you might be inclined to put an emitter every two feet in the line and then put a plant there. Don’t do it this way. For one, never put just one emitter in for a plant, if it fails your plant may die before you realize it’s not getting water. You’ll be better served to either use two emitters of half the flow you planned on using (or cut your watering cycle in half). For our plants like blueberries we run four emitters per plant.
As an aside another reason for using multiple emitters is because some plants like blueberries don’t transpose water and nutrients well. This means you could water one side of the plant and have the other die for lack of water. Multiple emitters ensures your plant gets even water all around it.
Also don’t plant your plant right at the emitter. Go ahead and put your emitters in every two feet but plant the plant half way between the emitters and use emitter tubing to carry the water to the plant base. This method will let you check an emitter without having to paw through your plant to find the emitter and if you have to replace an emitter it’s a lot easier working in the open than under a mature plant with a load of fruit on it.
The third thing you accomplish this way is as your feeder line expands due to heat (the ½ drip hose we get will expand as much as twelve inches in length in a fifty feet run on a hot day) even though the emitters move around the emitter tubing stays at the plant base and you don’t have to go out and reposition the line every time you water.
Before I leave drip lines I want to touch on water pressure again. Too high of water pressure can collapse the disc in the emitter and cause it to stop flowing water. You’ll think you have a clogged emitter and replace it only to have the next one not work either. Many emitters have a max pressure of around 30 psi. We have found that the pressure regulator for campers and RV’s that regulate the pressure down to 45~55 psi (nominal) is sufficient to keep from over pressuring our systems.
Fertilizers
I urge you to do your best to move away from inorganic fertilizers. If we ever are growing food post collapse they are not going to be available. If you do use inorganic fertilizer don’t over do it and burn your plants and you really should do some soil testing so you know how much of what you need to apply.
I’m going to use the rest of this spot to plug compost again because you kind of get a free pass if you compost. BUT if you wait to establish compost piles until you need them you are going to be waiting for anywhere from two months to as much as a year before it’s ready to go so you need to start composting before you think you’ll need it and considering as how none of us has a crystal ball that really tells the future, I would recommend starting as soon as you can.
If you are going to use manures for fertilizer compost them first or turn them in your soil in the fall so they break down by the time you need to plant. Remember fresh manures are most likely to be way too hot for your garden and you can burn your plants to the point of failure. Another problem with non composted manures is the weed seeds that animals will pass. A good compost pile will run at temperatures that will kill most weed seeds.
Manures and manure crops are not the same thing. Manures are just what they sound like, herbivore animal manure. Manure crops are cover crops that add nitrogen and organic content when tilled in or turned under.
I don’t know, I feel like I’m starting to ramble. I’ll let you beat me up in the comments if I’ve left you with questions.
Add to this the Wal Mart distribution center fire last week back in the Mid West, another fire at a Target warehouse in California and the Union Pacific Rail Road limiting fertilizer shipments to farmers smack dab in the planting season and you might come to the conclusion that there is Fuckery Afoot.
As a matter of fact,
I have told you and told you and told you that the Commie’s favorite weapon is food.
I got the pressure washer out and cleaned up the yellow deck because I was going to put that on it but while I had it out I said Fuck It and cleaned up the old one.
As soon as I hit it underneath all kinds of big chunks of dried up grass and mud came out from under it.
So I said why not try it again?
Why not indeed.
Even though I just mowed that last week with the self propelled walk behind, it cut it so short and piled up so much grass that I am not even kidding when I say that there was enough for a bale of hay.
Most of it was out towards the street just out of the picture.
I had to go over it several times to blow it out of the middle of the yard.
That fucker ain’t gonna need mowing again for at least two weeks, I don’t care how much it rains.
The deck was all the way down and making hay boys.
Hell yes, I’m gonna call that a win for sure.
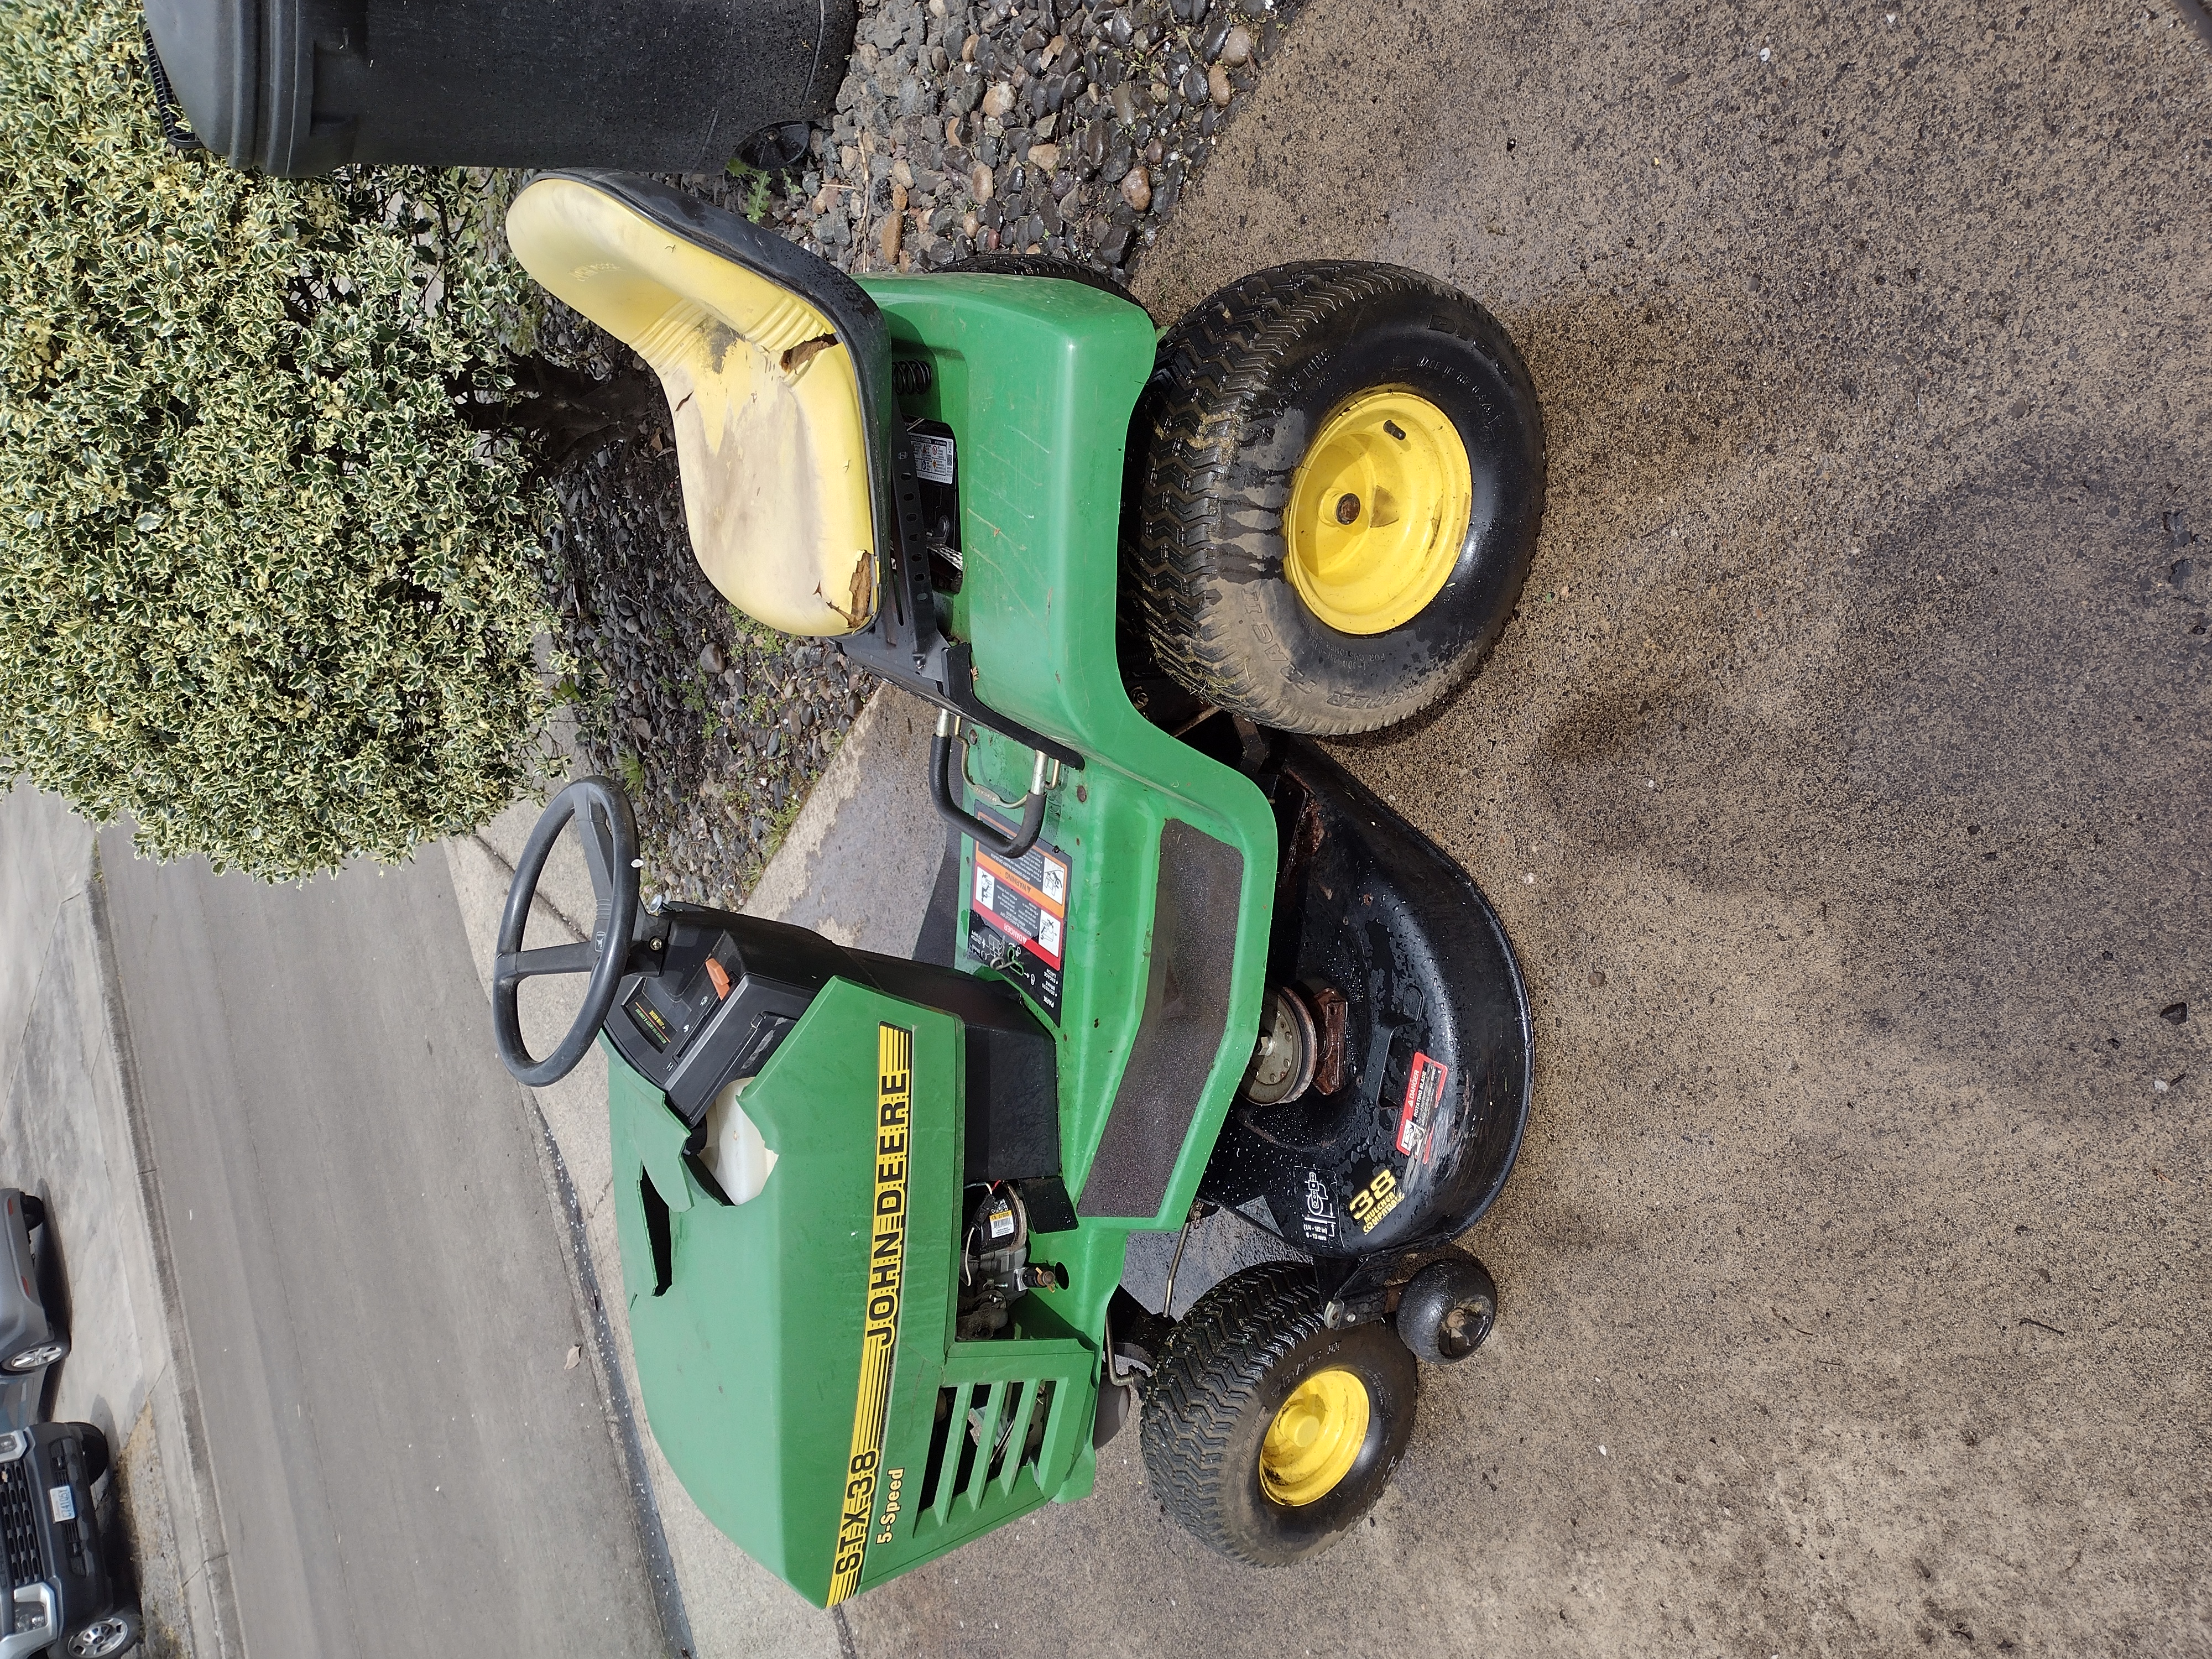
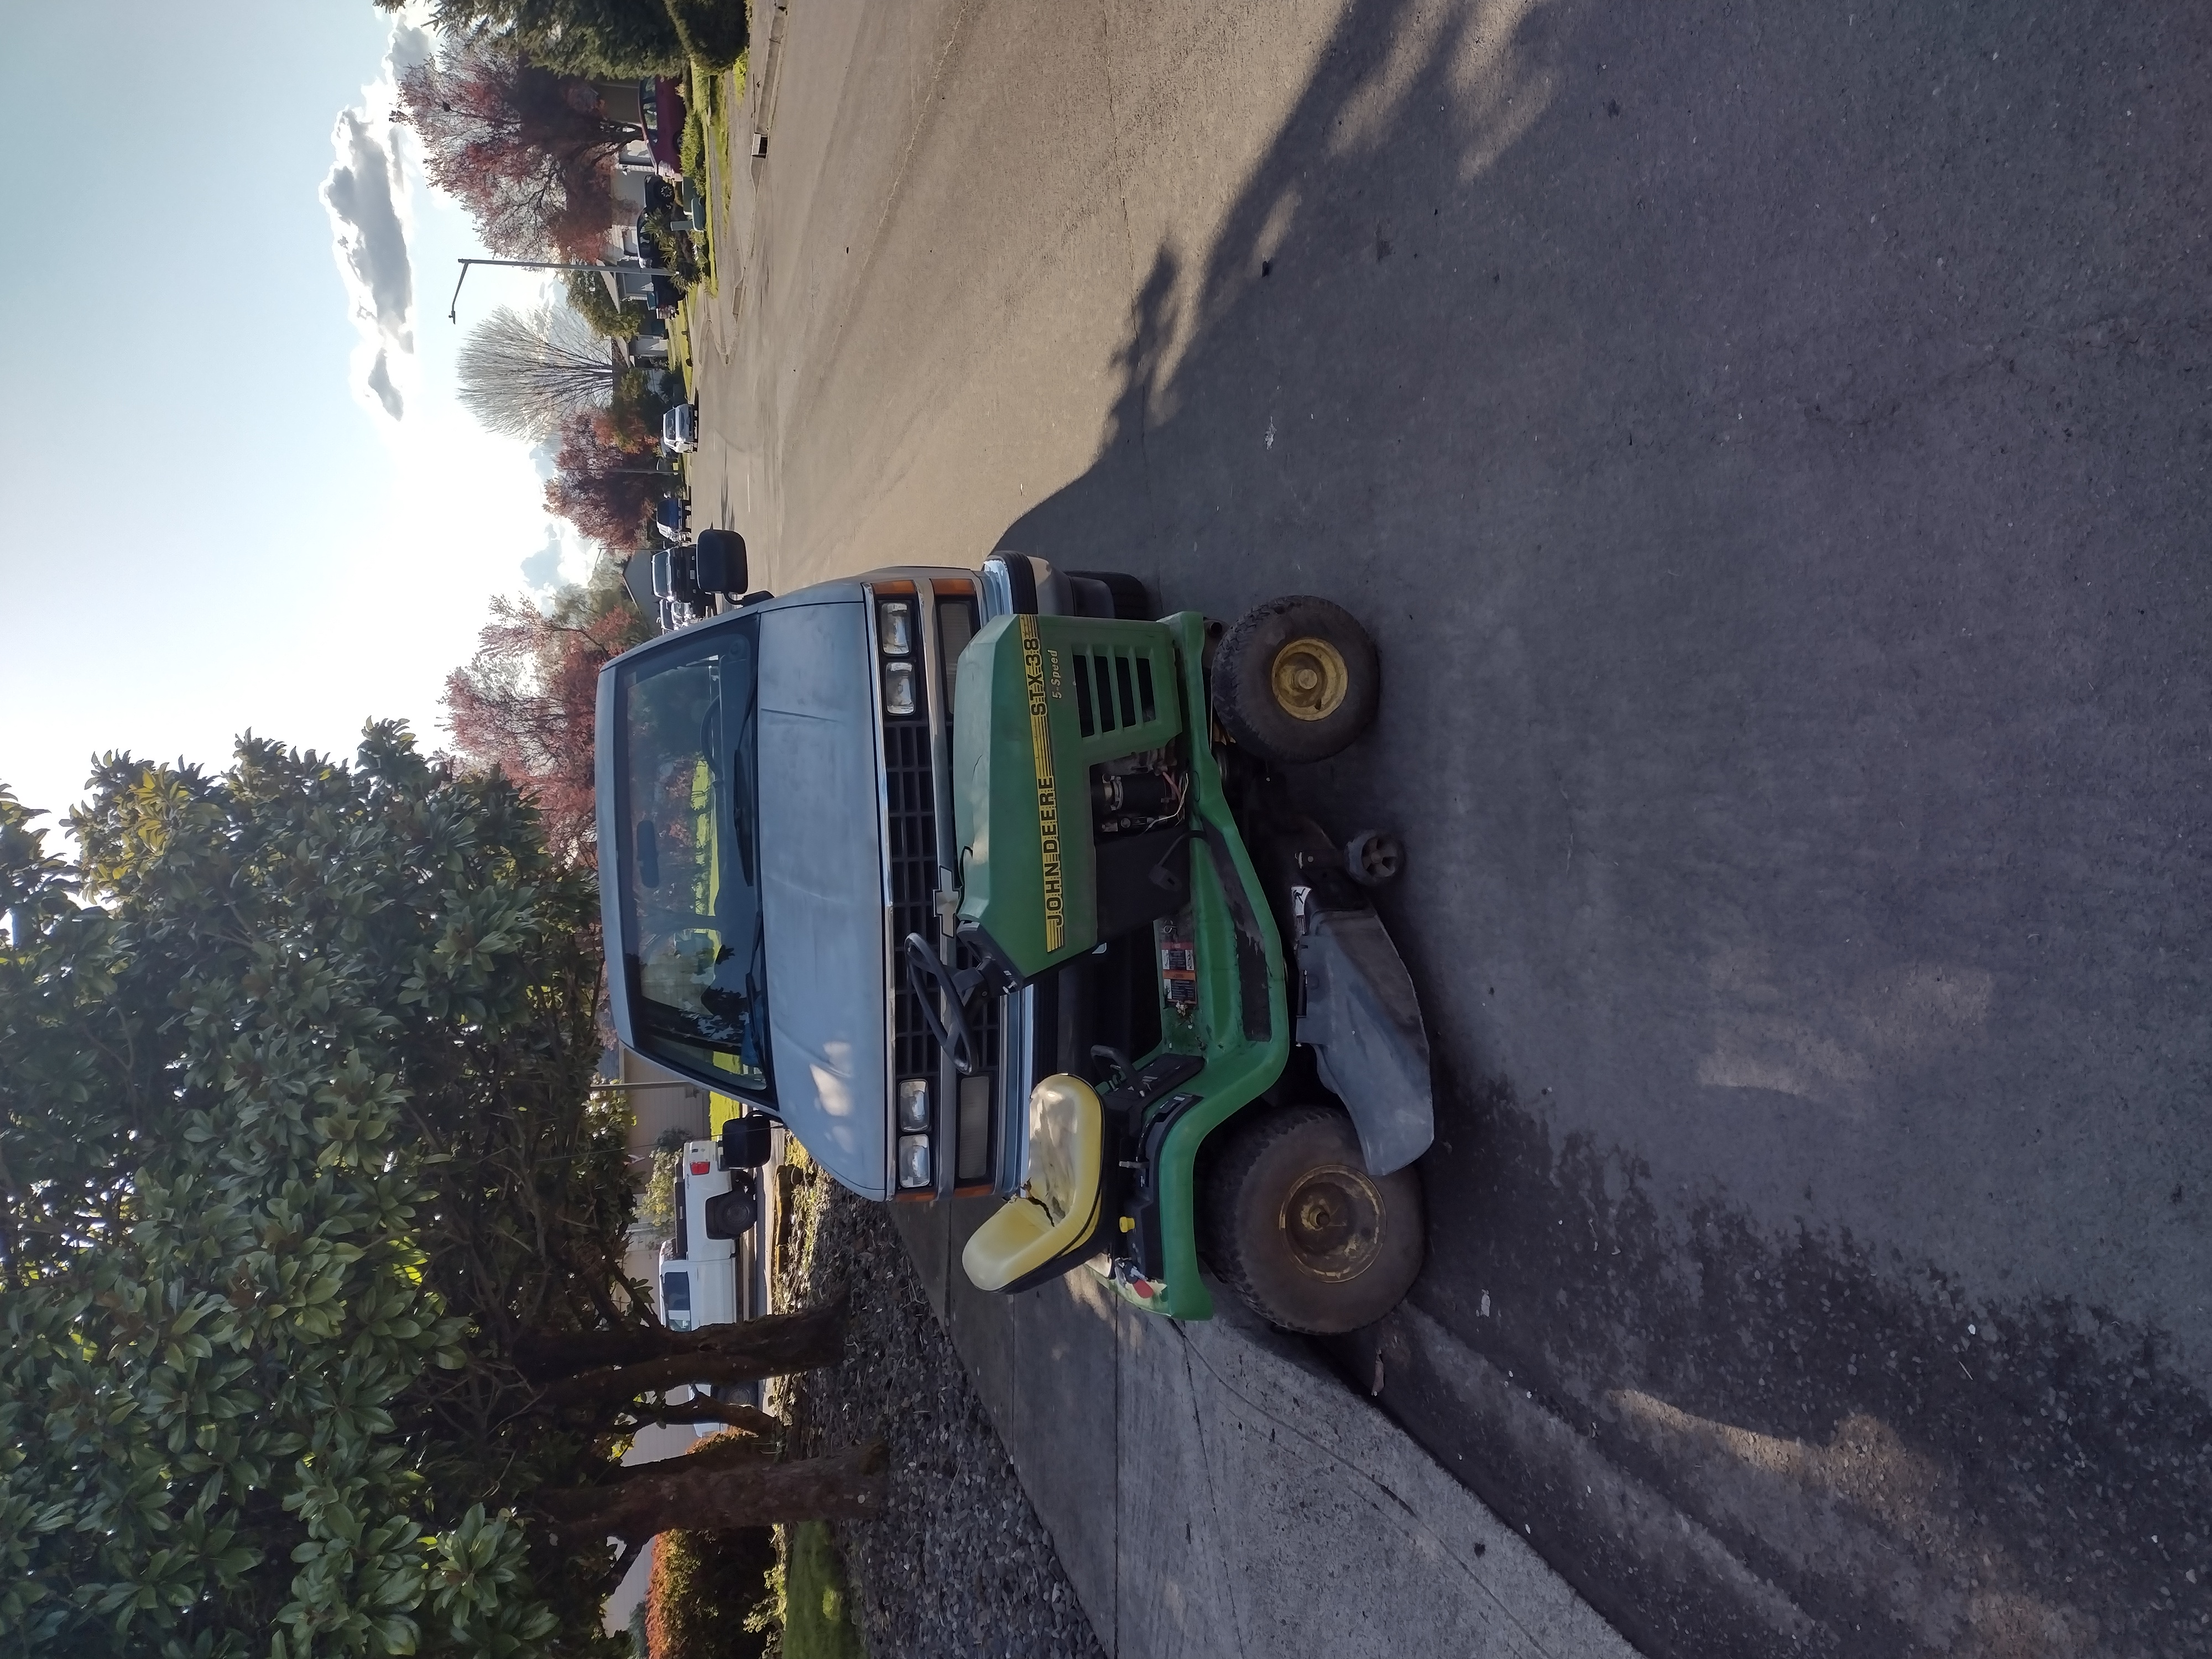
That the thing’s new name, The Little Green Pig.
The Pig for short.
A new seat and maybe an entire fiberglass kit for that hood and it will be good to go.
Lemme tell ya, it was so fucking nice to be able to sit down and do that job instead of killing myself with that walk behind motherfucker.
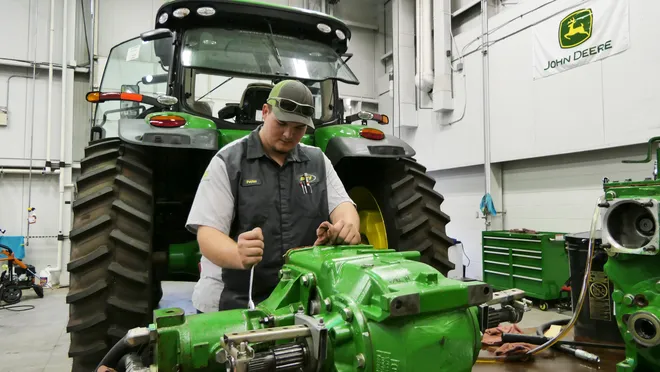
Looks like I’m not the only one with John Deere tractor issues.
These depictions only exist in dream worlds, not the one we live in.
Except he has a real tractor, not the little kiddy toy riding lawn mower thing.
Backhoe attachment and the Full Meal Deal.
The hydraulic power steering unit went out on his JD and just the price of a USED unit cost him more than I will have sunk into fixing BOTH of my little ones if I can help it.
Plus he is currently remembering those special curse words reserved for mechanics because he is swapping the damn thing out himself.
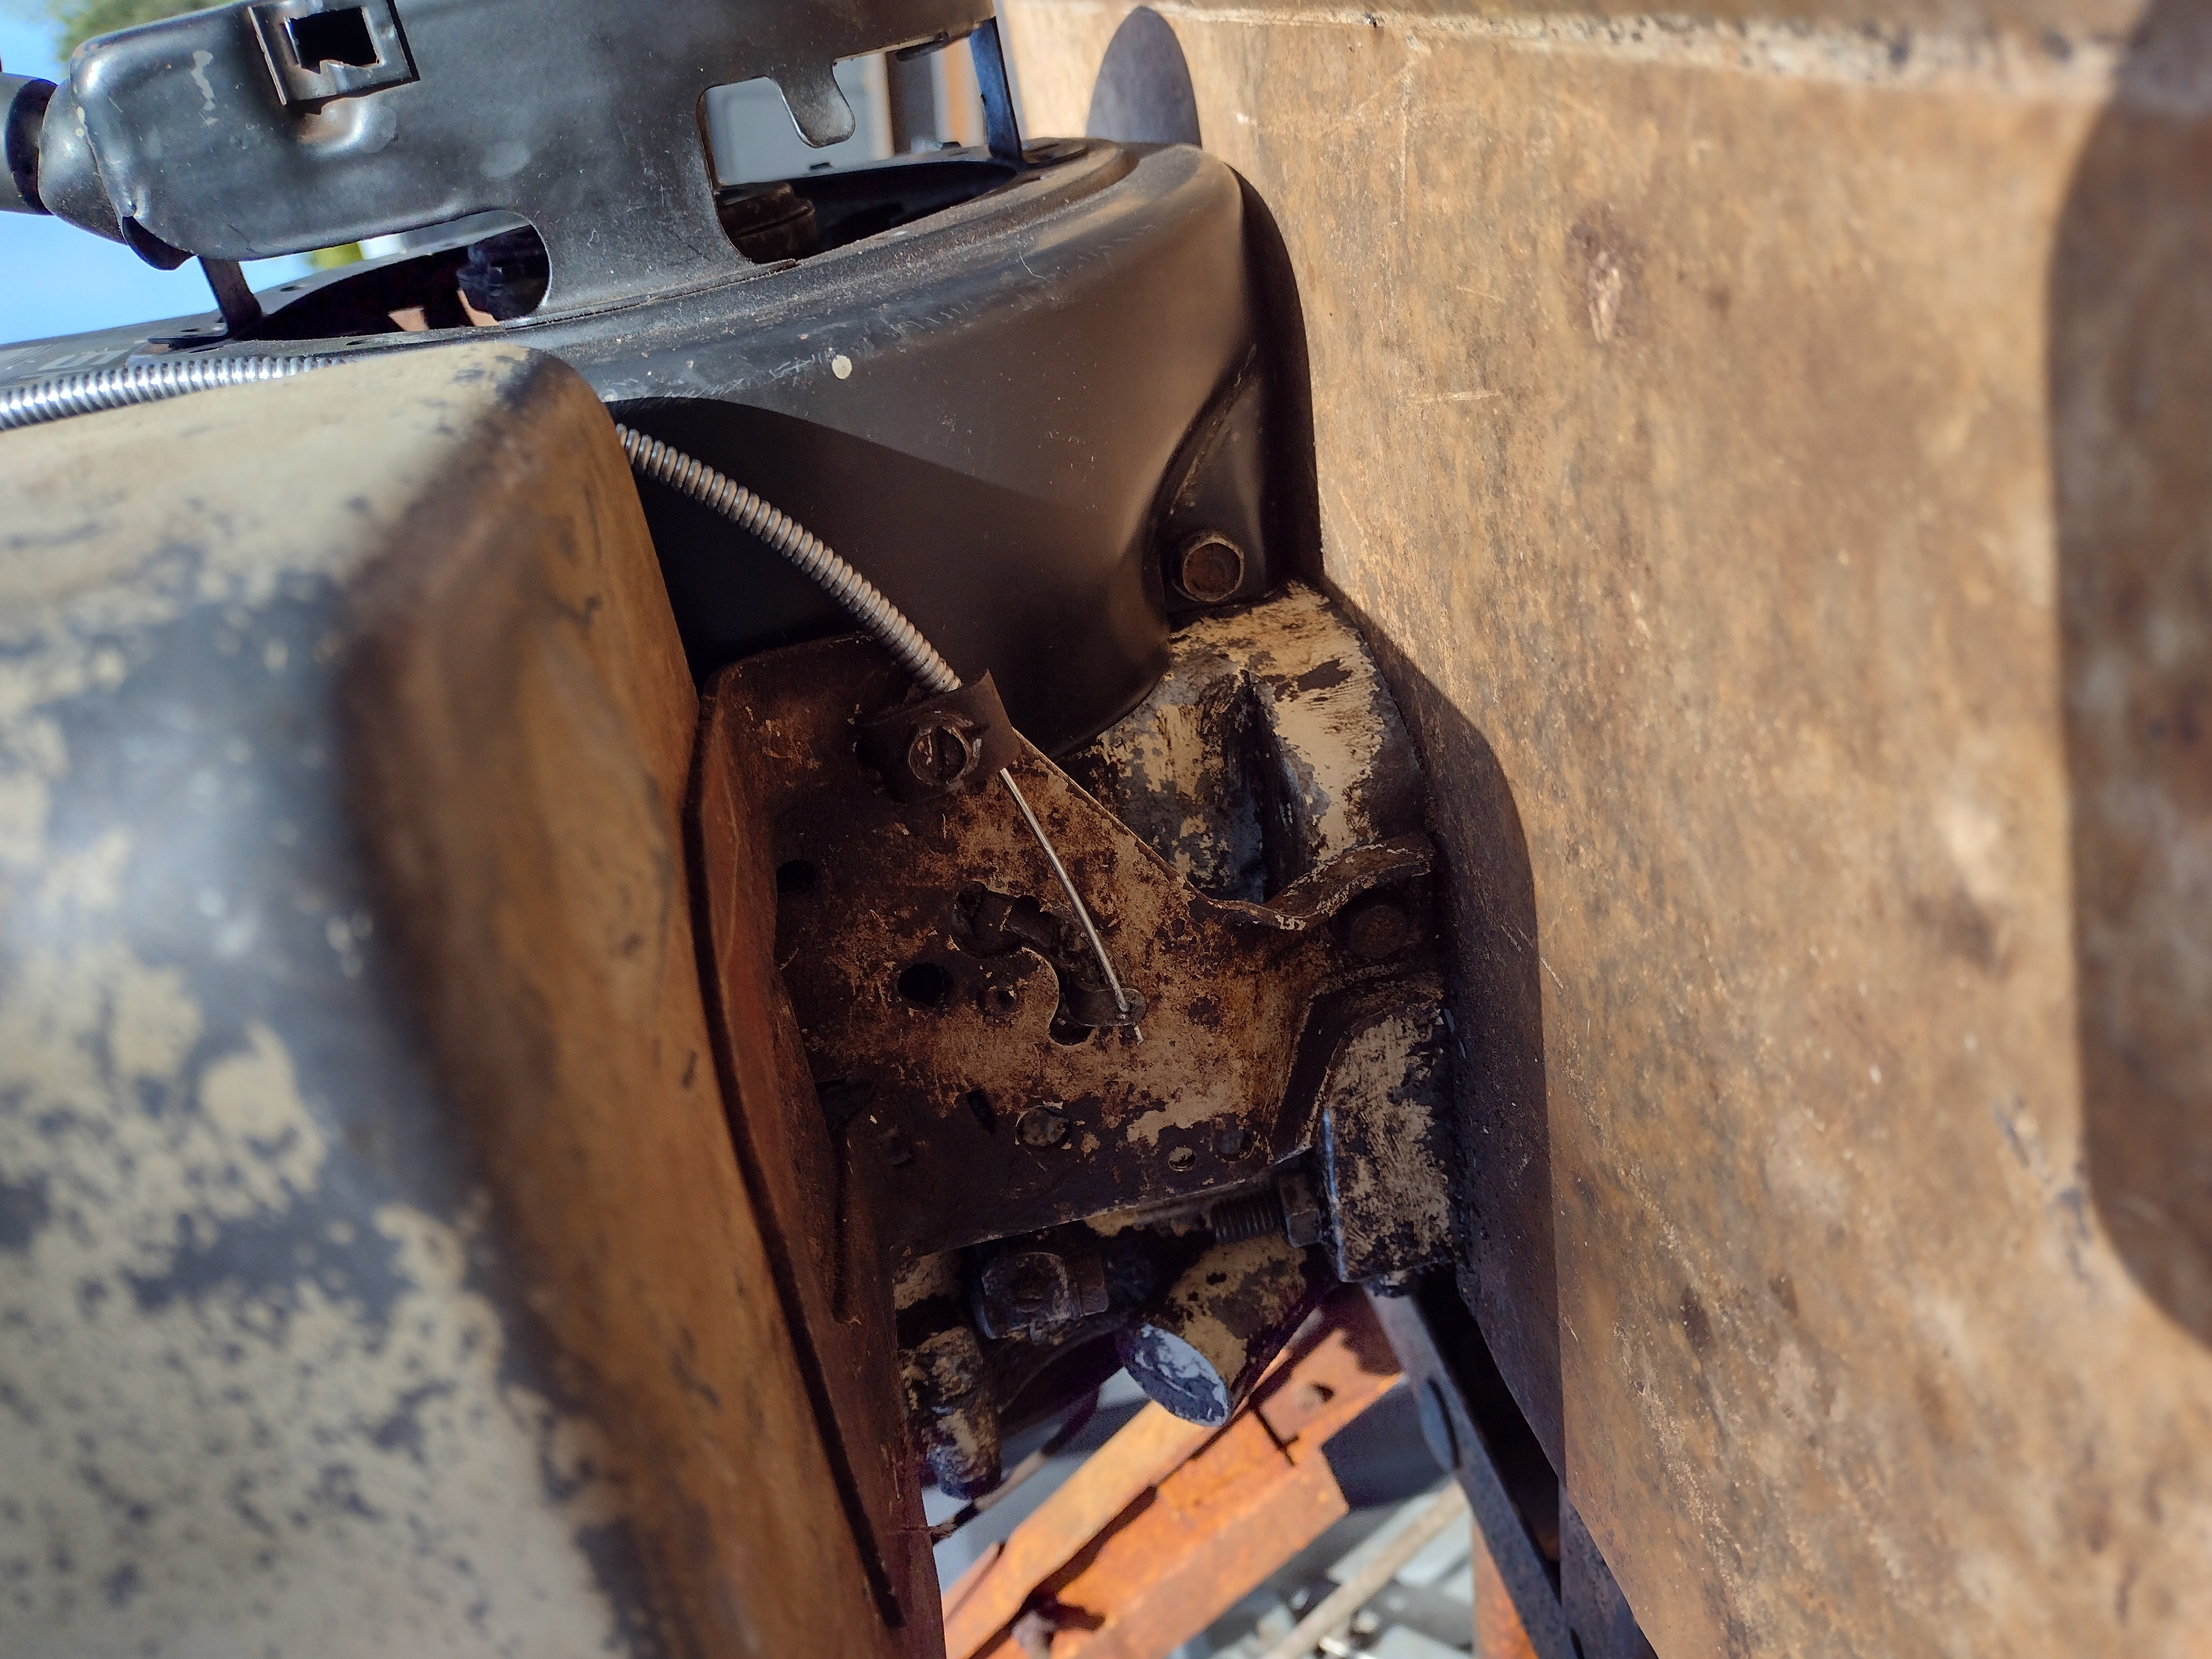
The wide open throttle issue turned out to be the idle screw turned in so far that the little spring looked like a flat washer and the no forward/ reverse issue turned out to be no shear key at all in the axle for the drive wheel.
That little idle screw had escaped my attention, it’s behind the air cleaner housing on the side of the carb.
Now I need to swap the decks, order new bags for the rear bagger set up and it should work.
There are still some minor issues like getting a new seat and a different kill switch but swapping out the decks will make it a functional mower.
Finally.
My thanks to my buddy for giving it to me, and the gentleman who traveled clear across the state to bring me the other one with the good deck and rear bagger set up.
My thanks also to Leigh and several others for hooking me up with wiring diagrams and repair manuals for these things.
It’s been a battle no doubt but as you all know all too well, I’m a stubborn sonofabitch.